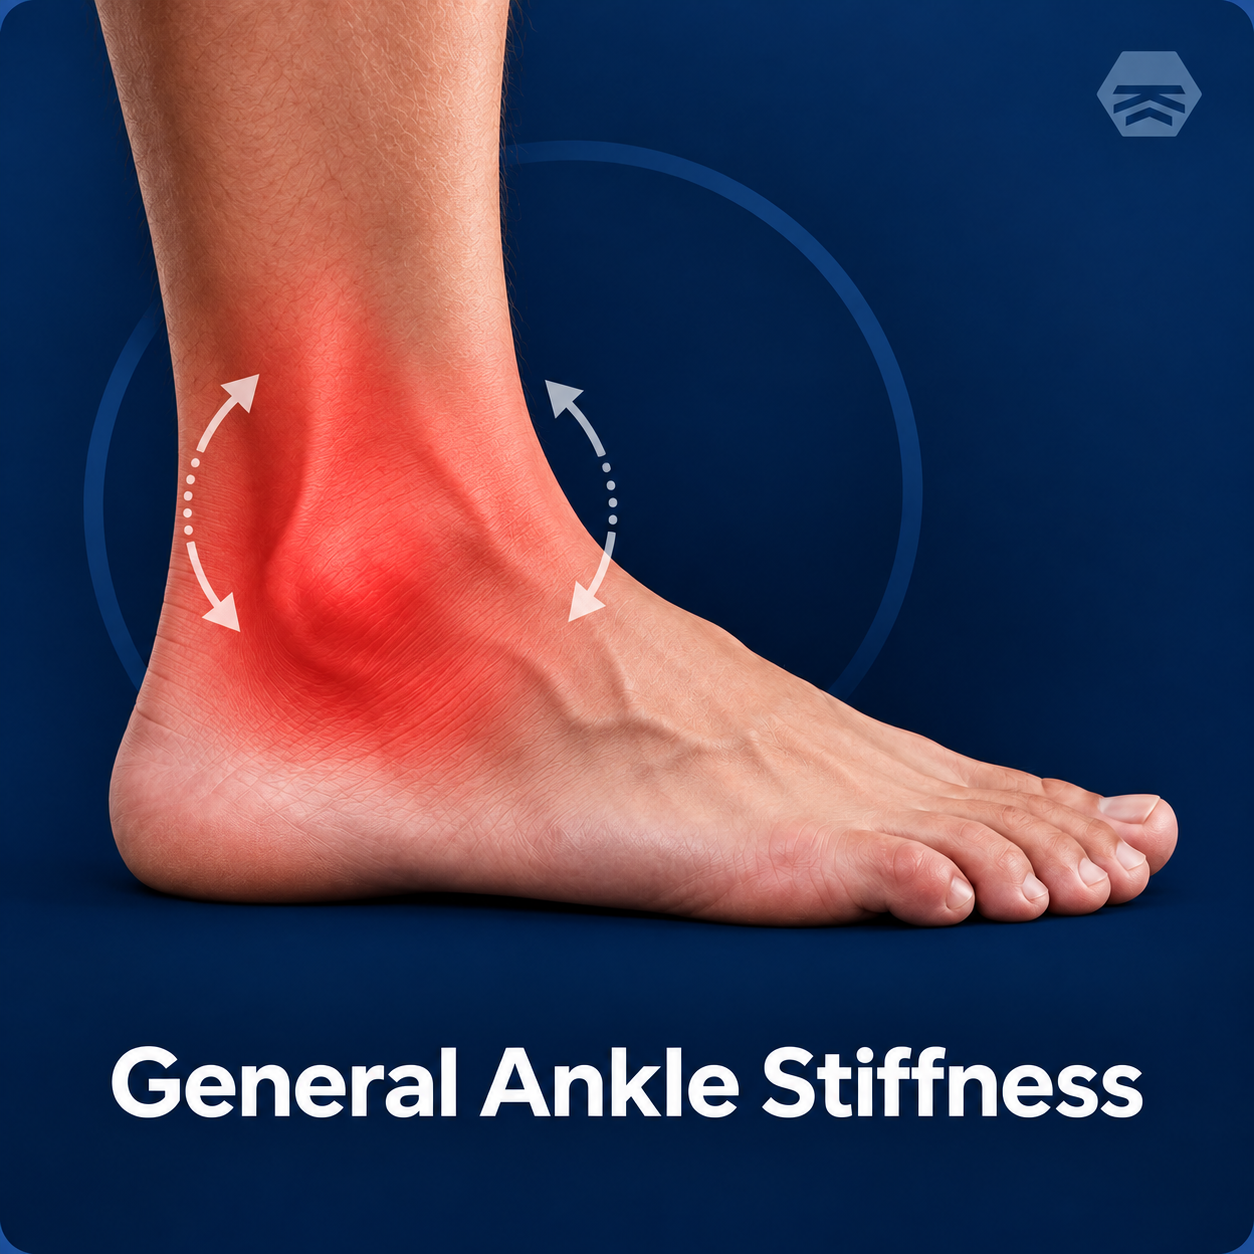
Welcome to Your Ankle Balance Board Training Guide
You’re ready to start training. The Quick Start Guide included with your Ankle Balance Board covers the essentials. This digital guide is your complete step-by-step training companion, with detailed instructions, board setup visuals, and demonstration videos.
You do not need to read this guide from beginning to end. Start by choosing the training area that best matches what you want to work on. Your pathway will show you where to begin, which exercises come next, and when you may be ready to progress.
For every exercise, follow the same order:
What M, S, and C Mean
Mobility
Exercises that build comfortable, controlled movement through the foot and ankle.
Strength
Exercises that build control, balance, and strength.
Configuration Reference
Internal setup codes used to identify board configurations. Customers do not need to learn C-codes. The exercise page simply shows the correct Basic Board Setup and, where applicable, an Advanced Option.
How to Use This Guide
- Choose your training area.
- Start with the first exercise in your pathway—not the entire list at once.
- Set up the Ankle Balance Board exactly as shown under Basic Board Setup.
- Read the goal, starting position, instructions, form cues, common mistakes, and reps/sets before you begin.
- Watch the demonstration video only after your board is set up and you understand the movement.
- Perform the exercise slowly and with control.
- Move to the next step only when your current exercise feels controlled and your symptoms are not getting worse.
How Your Training Progresses
Your pathway is a progression, not a workout checklist. There is no required number of days before you move on. Some people may be ready for the next step quickly; others may need more time. Progress is based on movement quality, your ability to complete the recommended work, and how your body responds during and after training.
The JUST RoQH Progression Rule
Move to the next exercise only when all four statements are true:
You can perform the current exercise slowly and with good control, without excessive wobbling or compensating.
You do not have sharp, sudden, or clearly increasing pain. Mild, stable training discomfort may occur with some conditions, but it should not keep building as you train.
You can complete the recommended time, reps, and sets without your form breaking down.
Your symptoms are not clearly worse later that day or the next morning compared with before the session.
All four checked? You may try the next step. If not, stay at the current level and build control gradually.
Your First Session
Begin with the first exercise in your selected pathway. Learn the setup and movement, complete the recommended work, and then see how you feel. Do not try to complete every exercise in the pathway on day one.
As you progress, an earlier mobility or control exercise may stay in your routine. Moving forward does not always mean replacing the previous exercise; it may mean adding the next level while keeping a useful foundation exercise.
Pain & Symptom Guide
GREEN — Continue
No pain or only mild, stable discomfort. Your movement stays controlled, and there is no meaningful increase in symptoms afterward or the next morning.
YELLOW — Stay at This Level
The exercise becomes noticeably more uncomfortable, your control gets worse, or symptoms linger more than expected afterward. Do not progress yet. Reduce the range, reps, hold time, or difficulty and reassess.
RED — Stop
Sharp or sudden pain, clearly increasing pain, increasing swelling, giving way, marked loss of function, numbness, or another unusual symptom. Stop the exercise and seek professional advice when appropriate.
Important Safety Note
The Ankle Balance Board is a training tool and is not a substitute for medical diagnosis or treatment. If you have a recent injury, severe pain, significant swelling, loss of function, or are unsure whether an exercise is appropriate for you, consult a qualified healthcare professional before continuing.
Product Overview
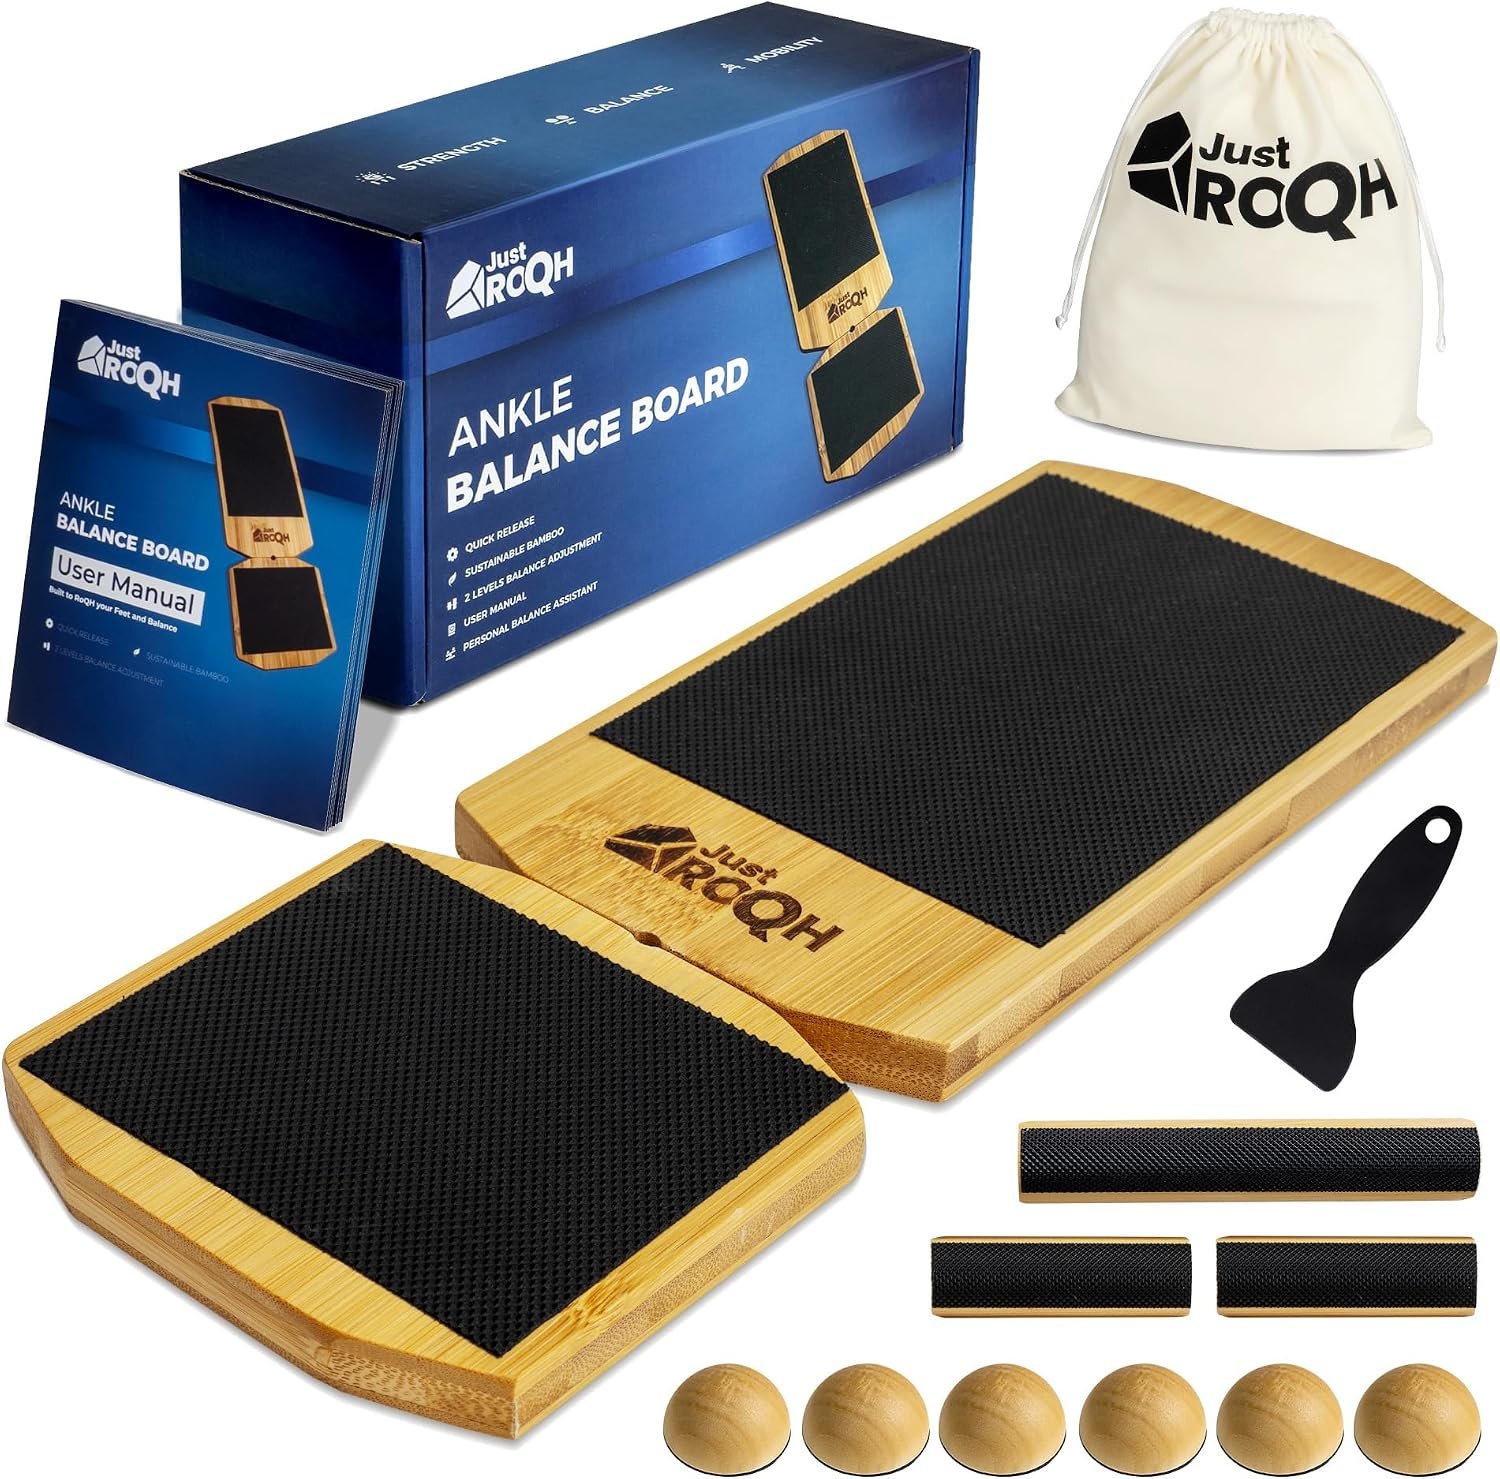
The JUST RoQH Ankle Balance Board is a configurable training tool designed to create a controlled challenge under the foot. By changing the setup shown for each exercise, you can work on foot and ankle mobility, balance, body awareness (proprioception), and lower-body strength in a progressive way.
You do not need to understand every board component before you start. For each exercise, copy the Basic Board Setup exactly as shown in the approved Right Foot and Left Foot setup images. Use only the setup and accessories shown for that exercise.
How to Use Advanced Options
Advanced options are optional and always come after the basic exercise. Start with the Basic Board Setup, learn the movement, complete the recommended reps, sets, or hold time, and check how your body responds during the exercise, later that day, and the next morning.
When an exercise has an advanced movement or board setup, it stays on that same exercise page under the heading “Advanced Option.” You do not need to search for a separate advanced page.
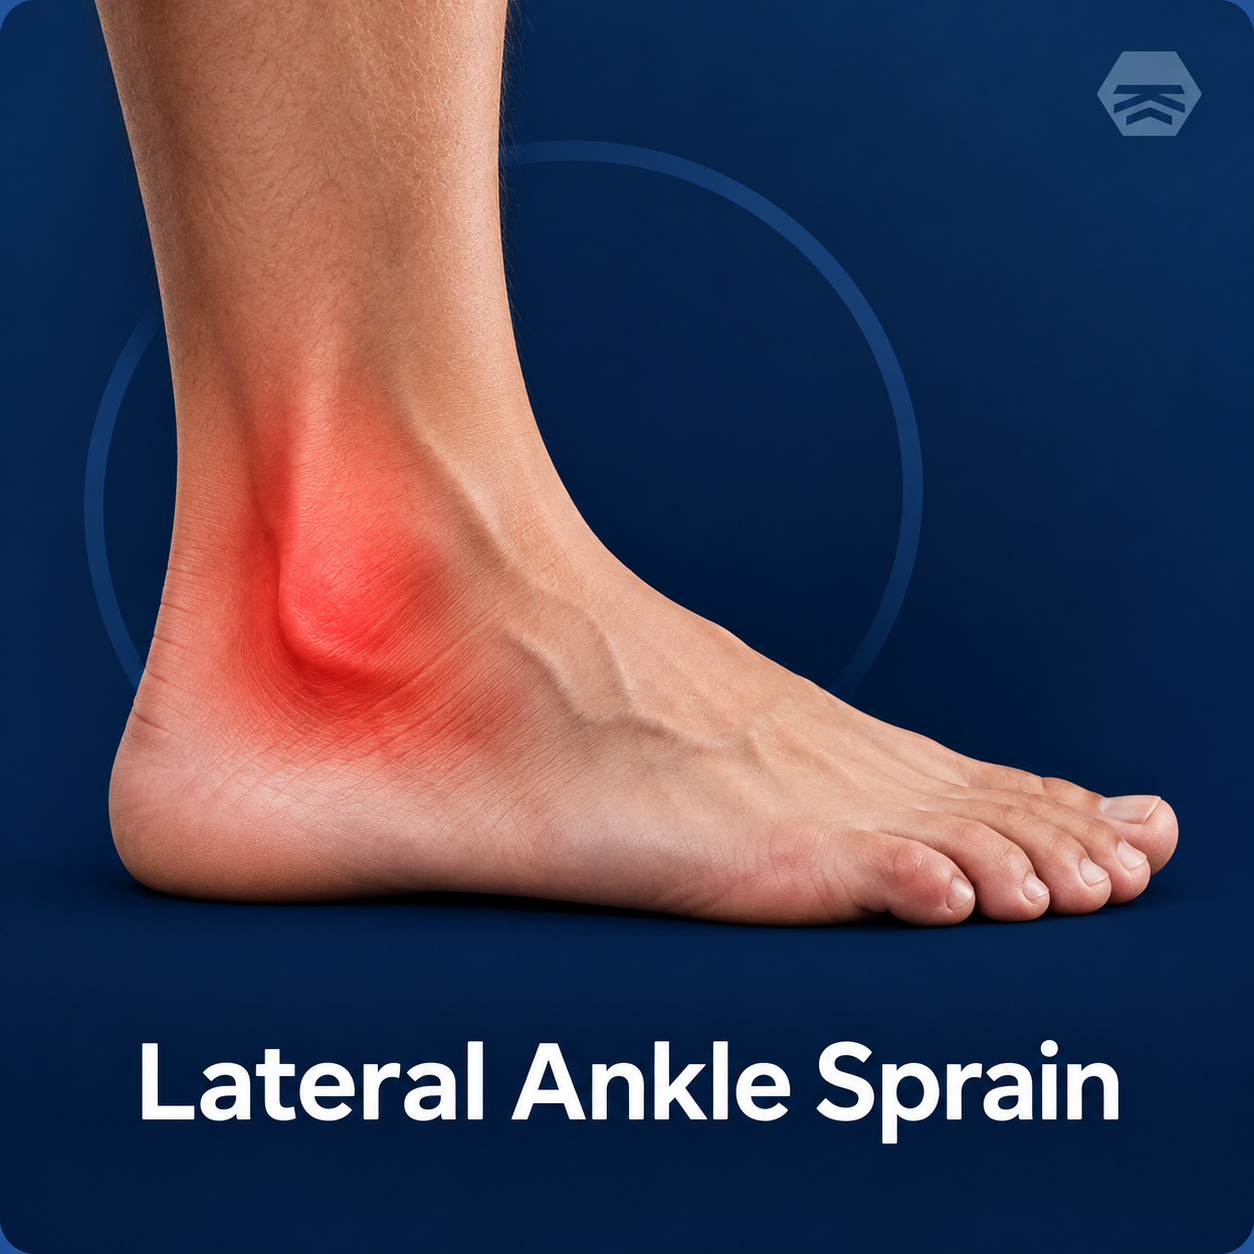
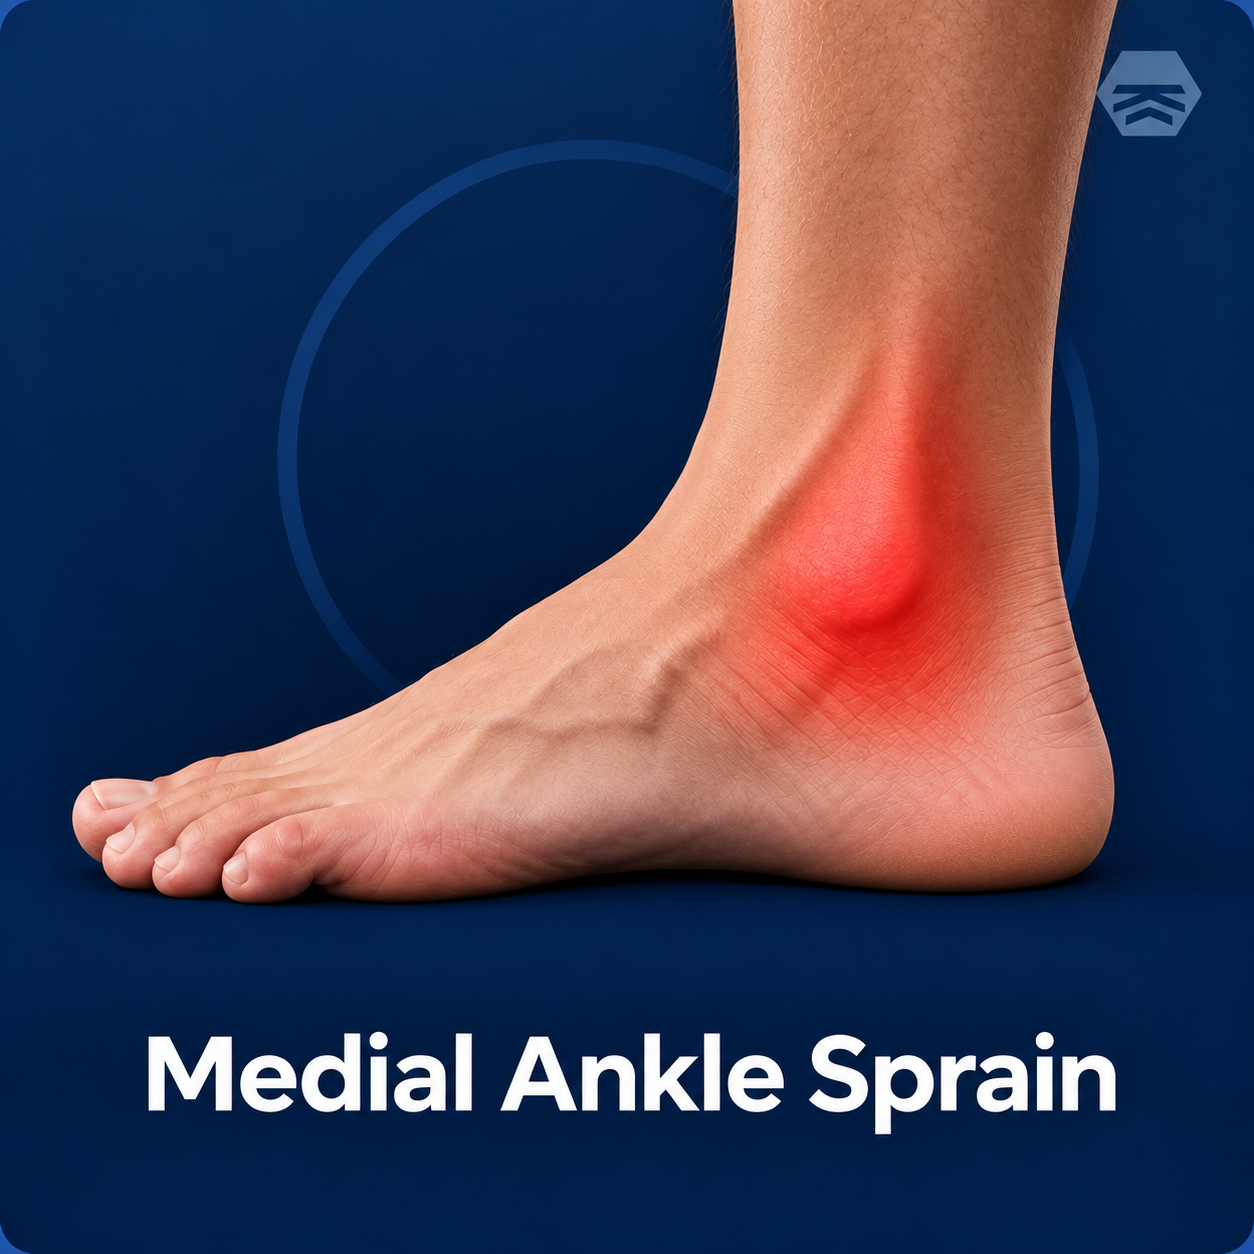
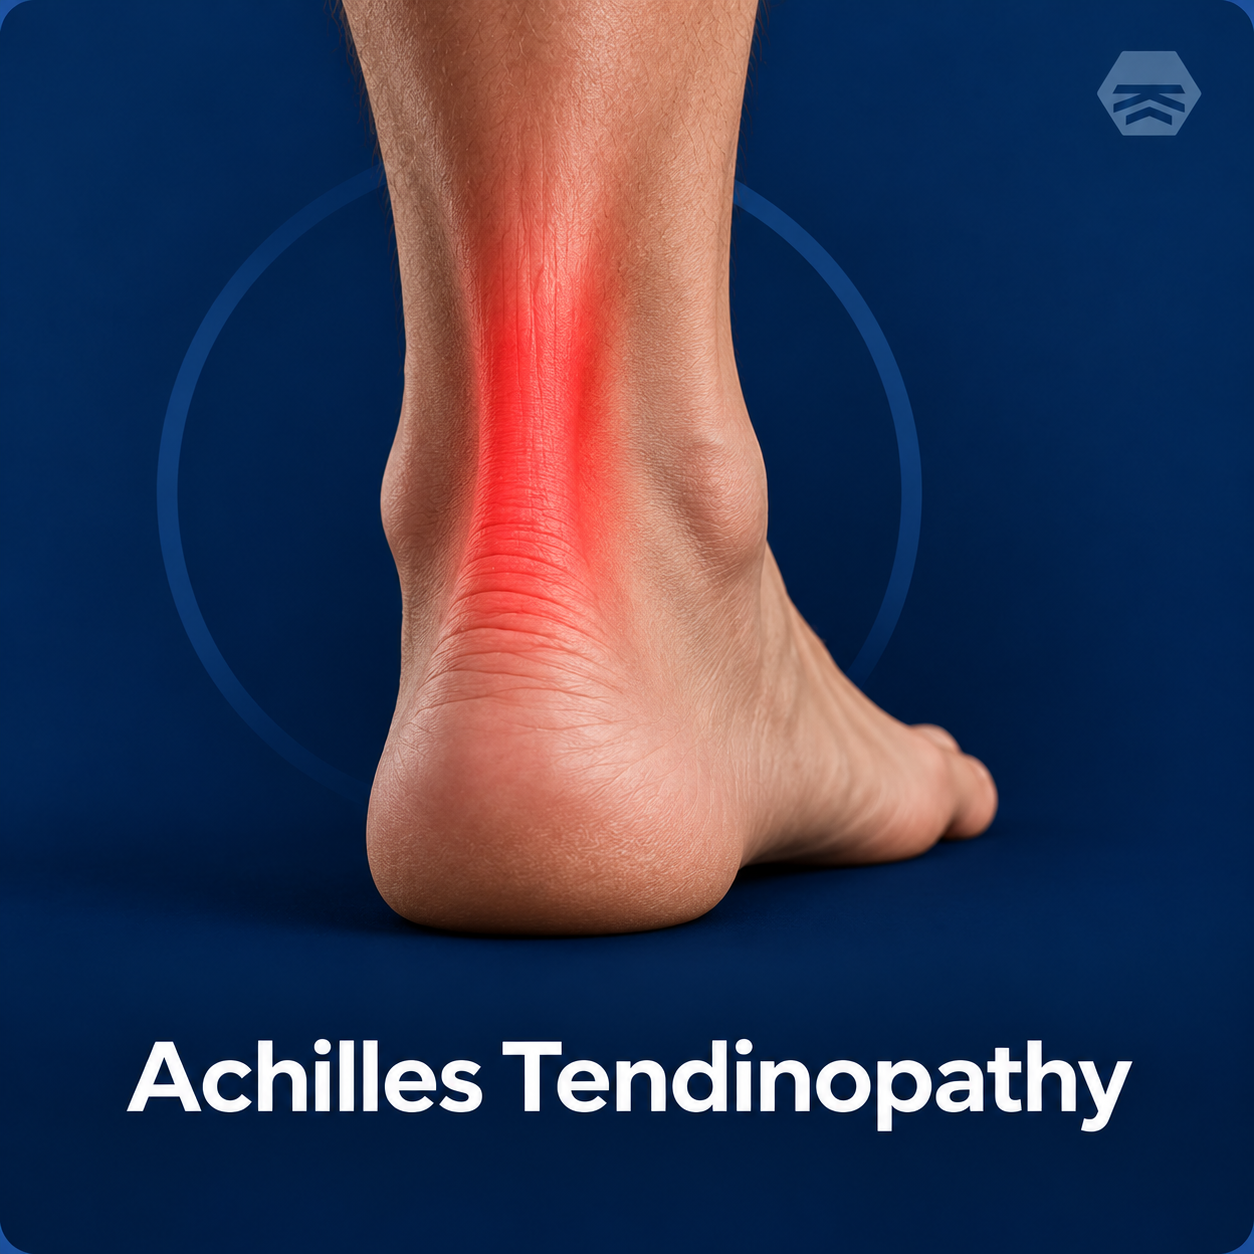
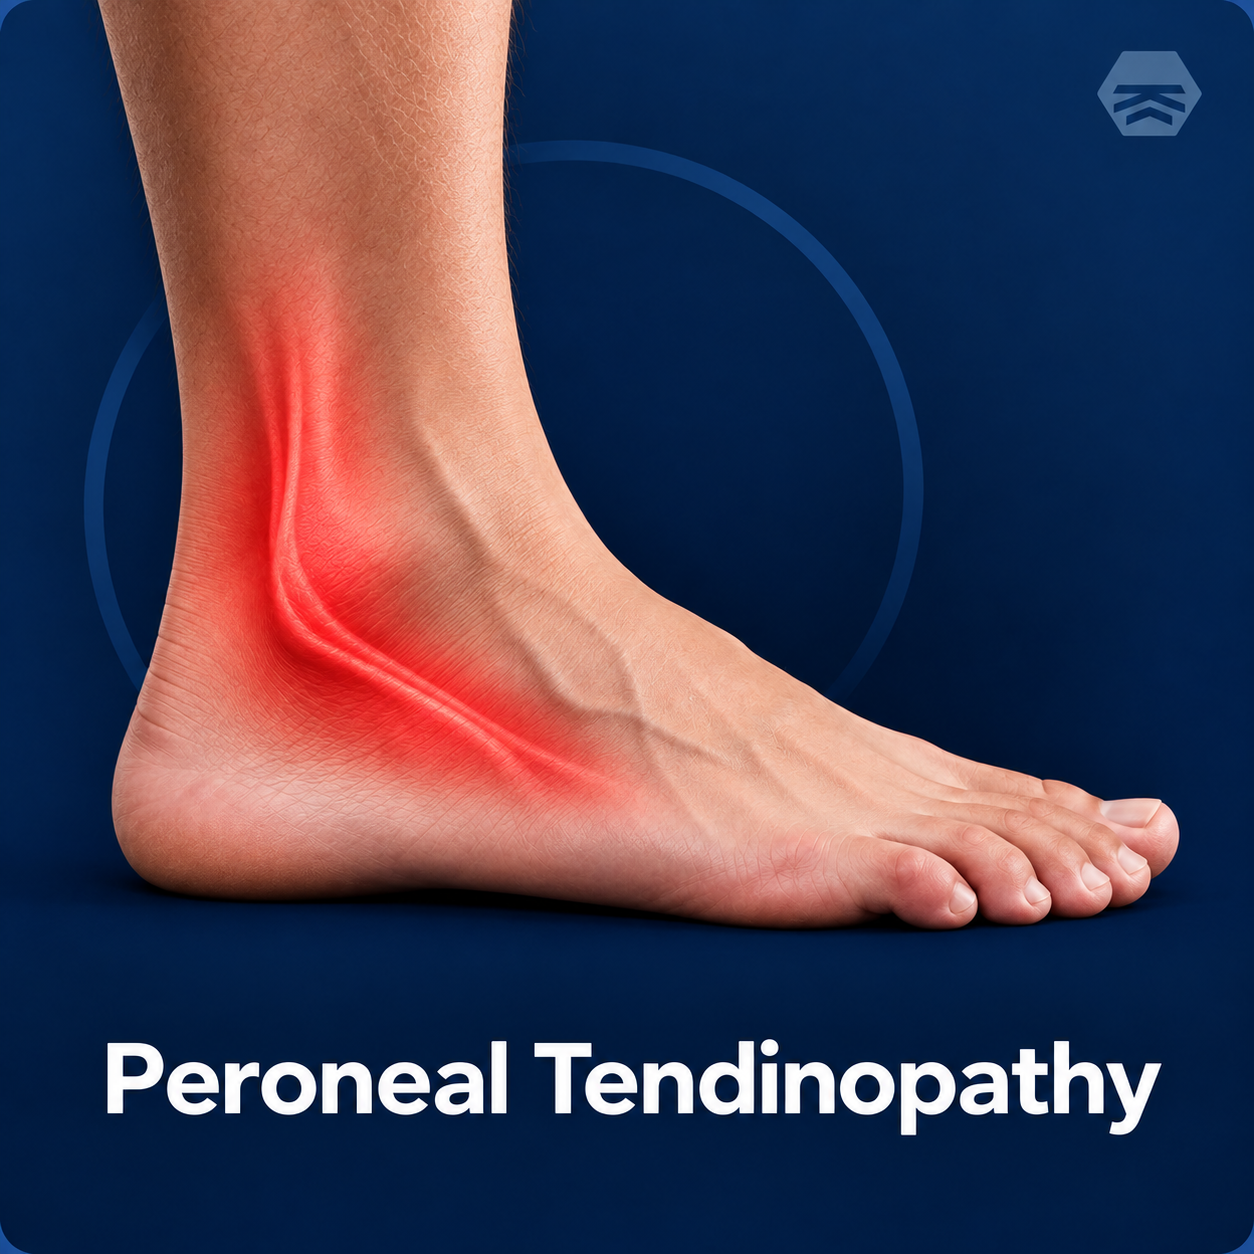
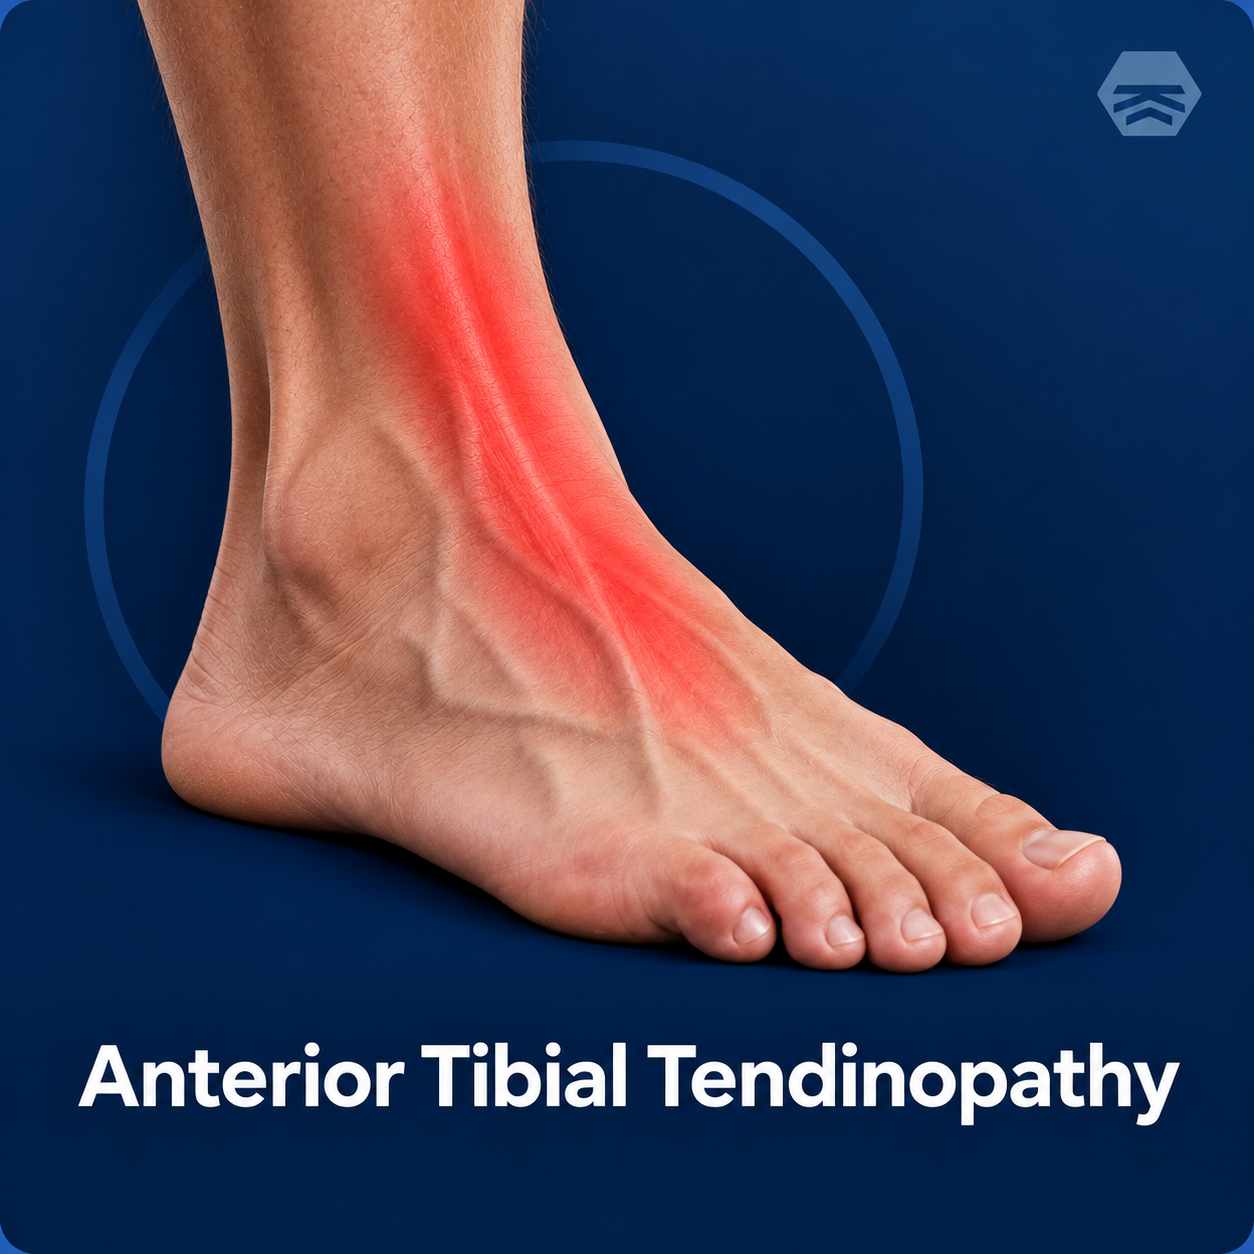
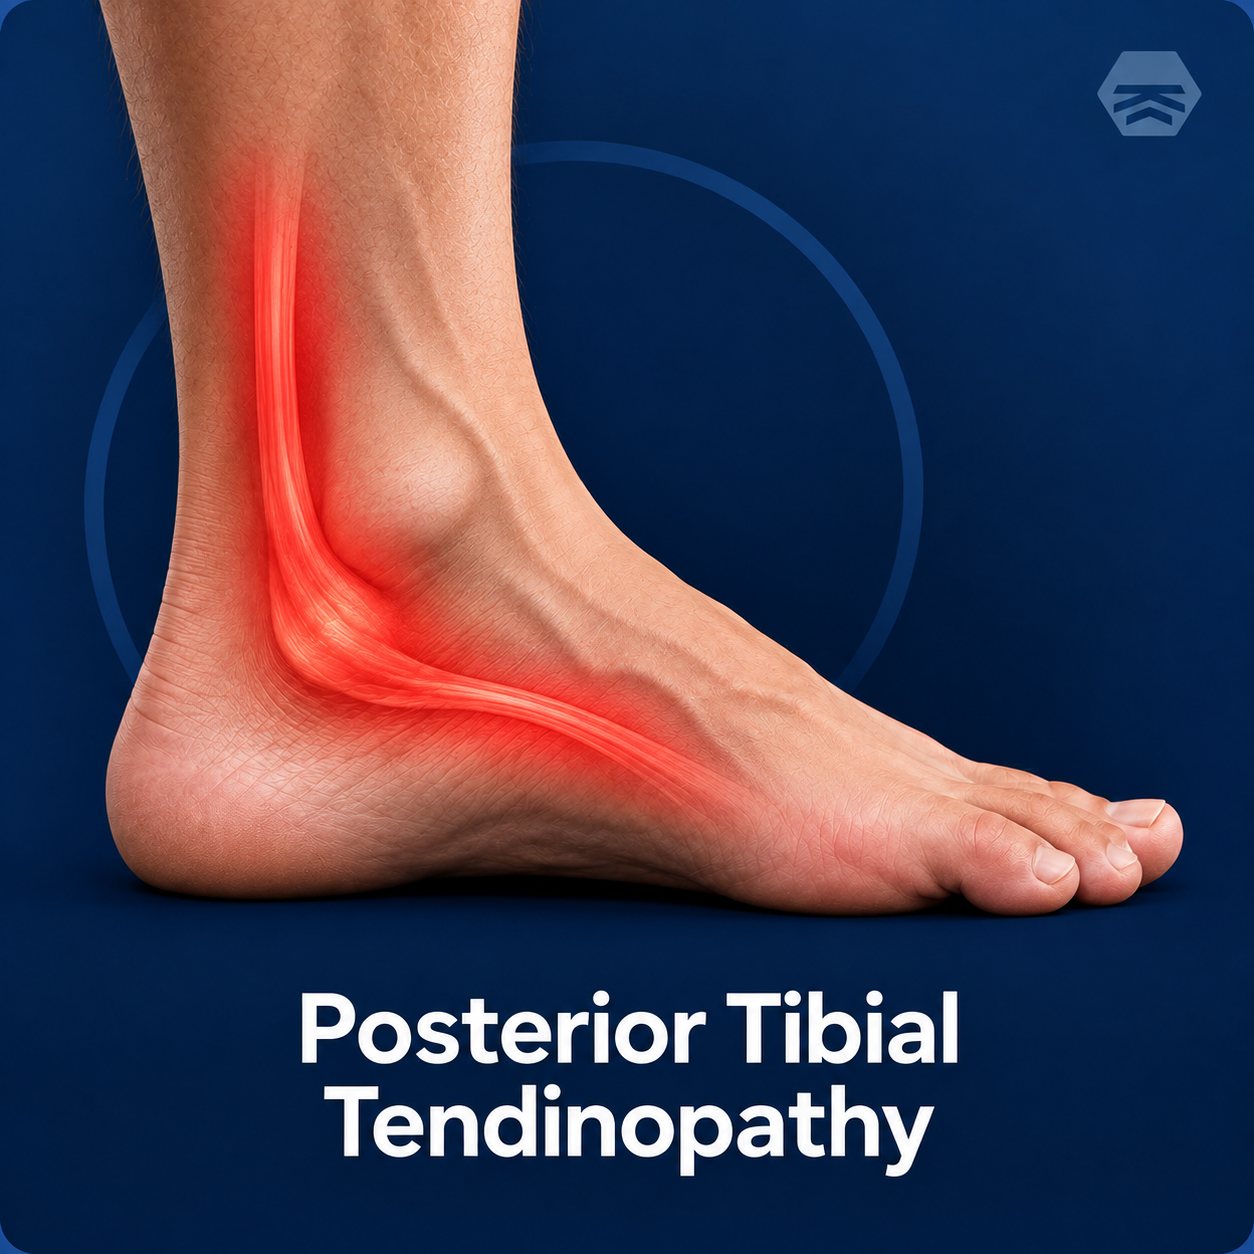
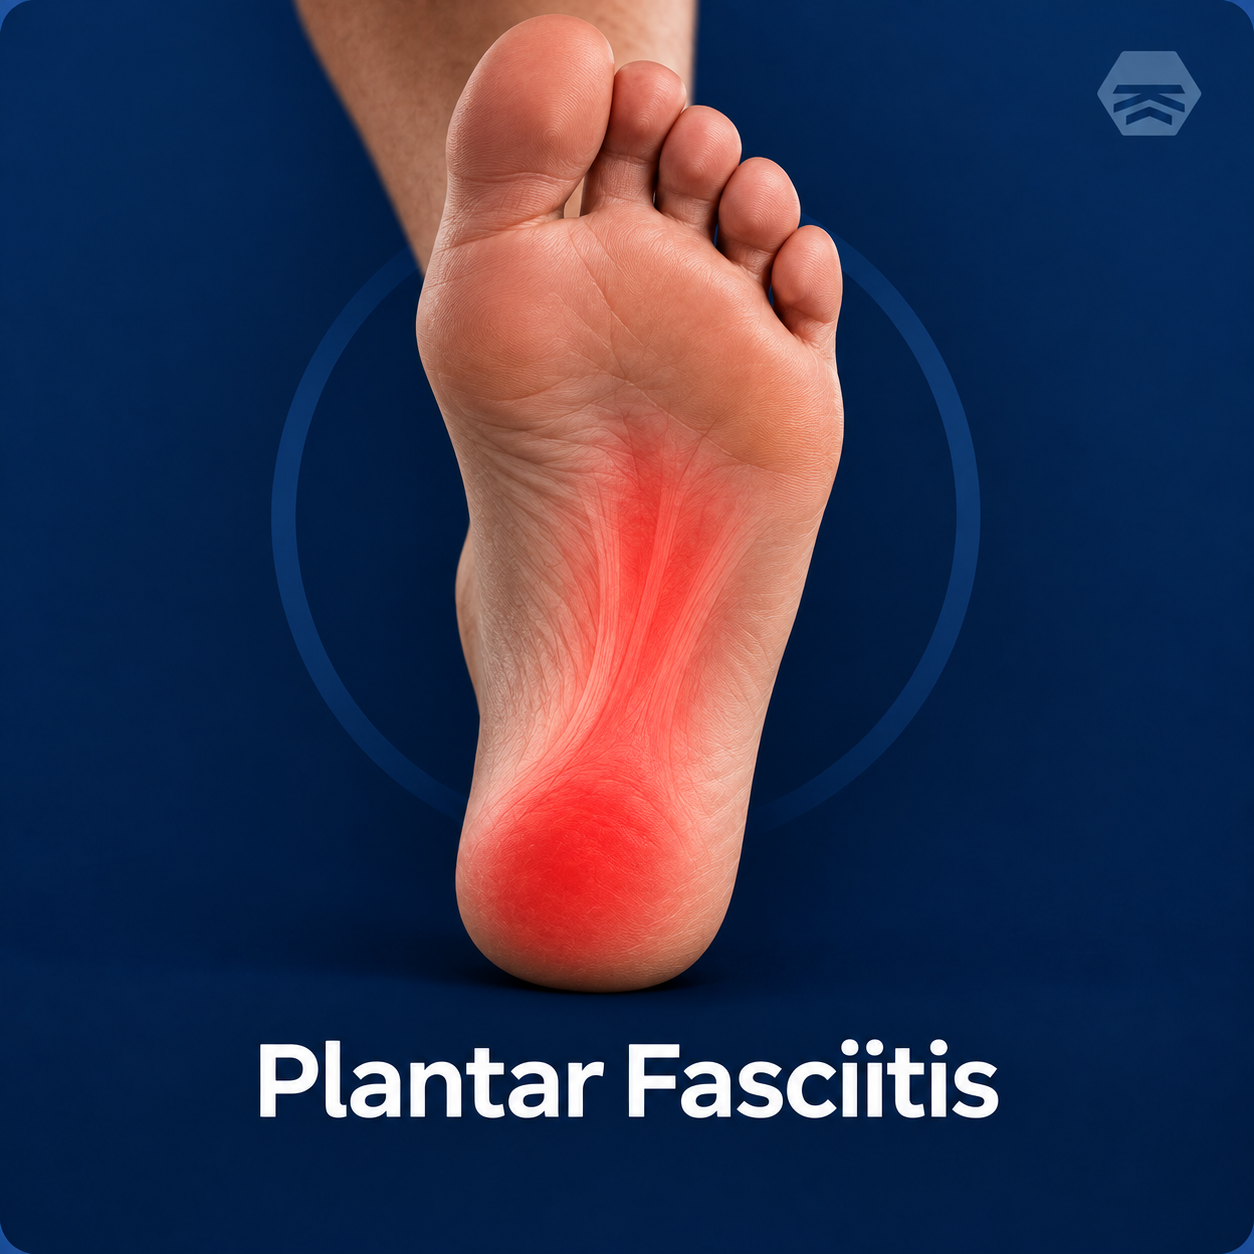
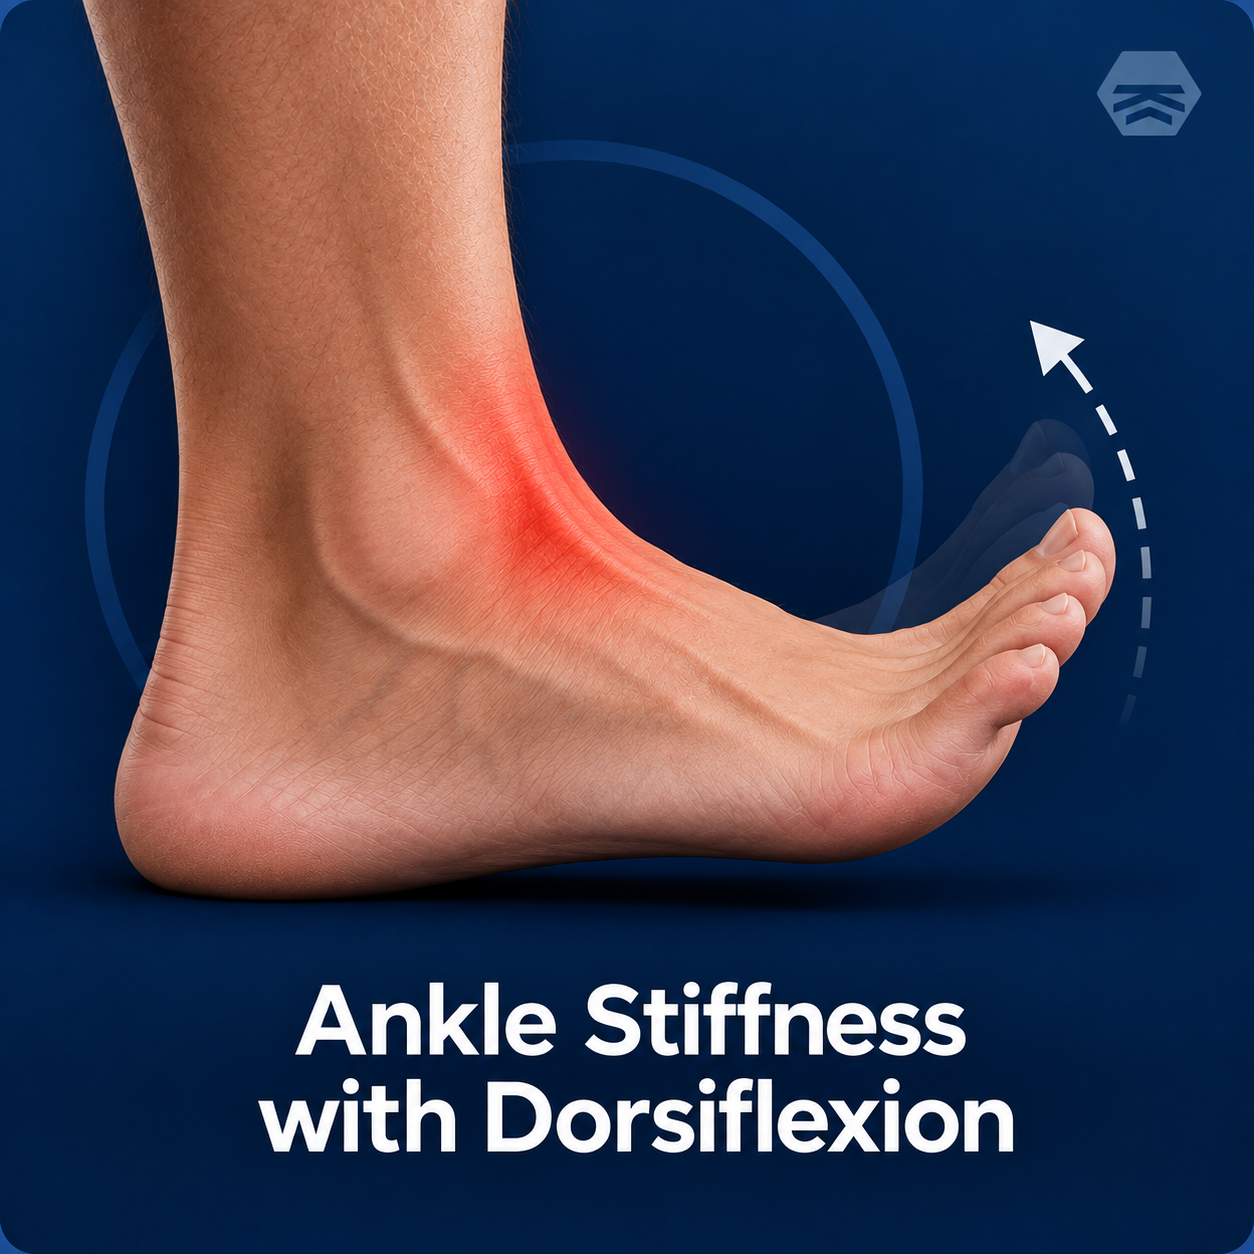
Choose Your Training Area
Choose the area that best matches your current training need. Follow the pathway in order and start with the exercise marked Start Here. If you have not been evaluated and are unsure what is causing your symptoms, consider getting professional guidance before choosing an injury-specific pathway.