
What This Exercise Does
Add hip strength while keeping the foot and ankle stable on the board.
Why it matters: Builds glute and posterior-chain strength without requiring upright balance.
Make the glutes do the work. A lower bridge with a level pelvis is better than lifting higher by arching the back.
Set Up Your Board
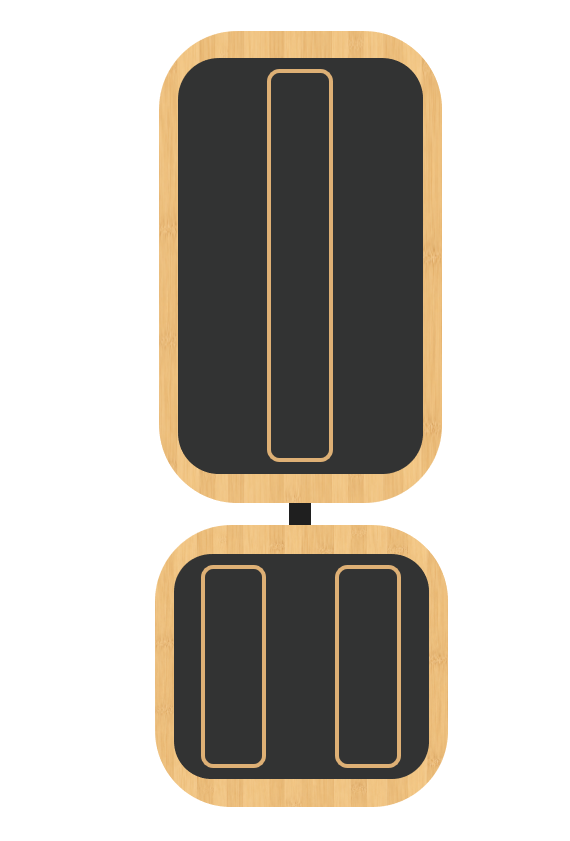
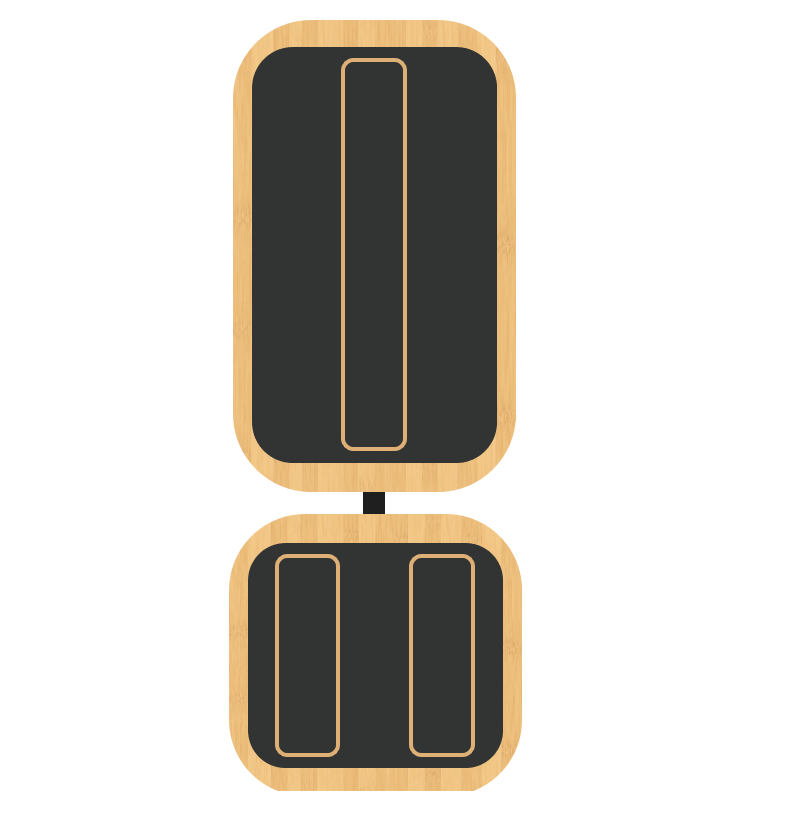
Use the approved Basic Board Setup for this exercise. The working foot is on the Ankle Balance Board; a shoe on the other foot may help level the feet. Choose the Right Foot Setup or Left Foot Setup below for the foot you are training.
Starting Position
Lie on your back with knees bent, feet about shoulder-width apart and heels a few inches from the glutes.
How to Do It
- Press through both feet.
- Lift the hips slowly until the hips and thighs are approximately aligned.
- Keep the foot on the Ankle Balance Board stable.
- Lower the hips slowly to the floor.
What You May Feel
Glutes and hamstrings working, with the board-side foot/ankle stabilizing.
Key Form Cues
- Keep the pelvis level.
- Do not push so high that the lower back arches excessively.
- Maintain stable pressure through the working foot.
Common Mistakes
- Overarching the lower back.
- Knees falling inward/outward.
- Letting the board-side foot wobble freely.
5–12 reps. Perform 3 sets. Build reps/sets before progressing.
Demonstration Video
Your board is ready and you have read the instructions. Watch the demonstration once, then perform the exercise yourself.
Ready for More Challenge?
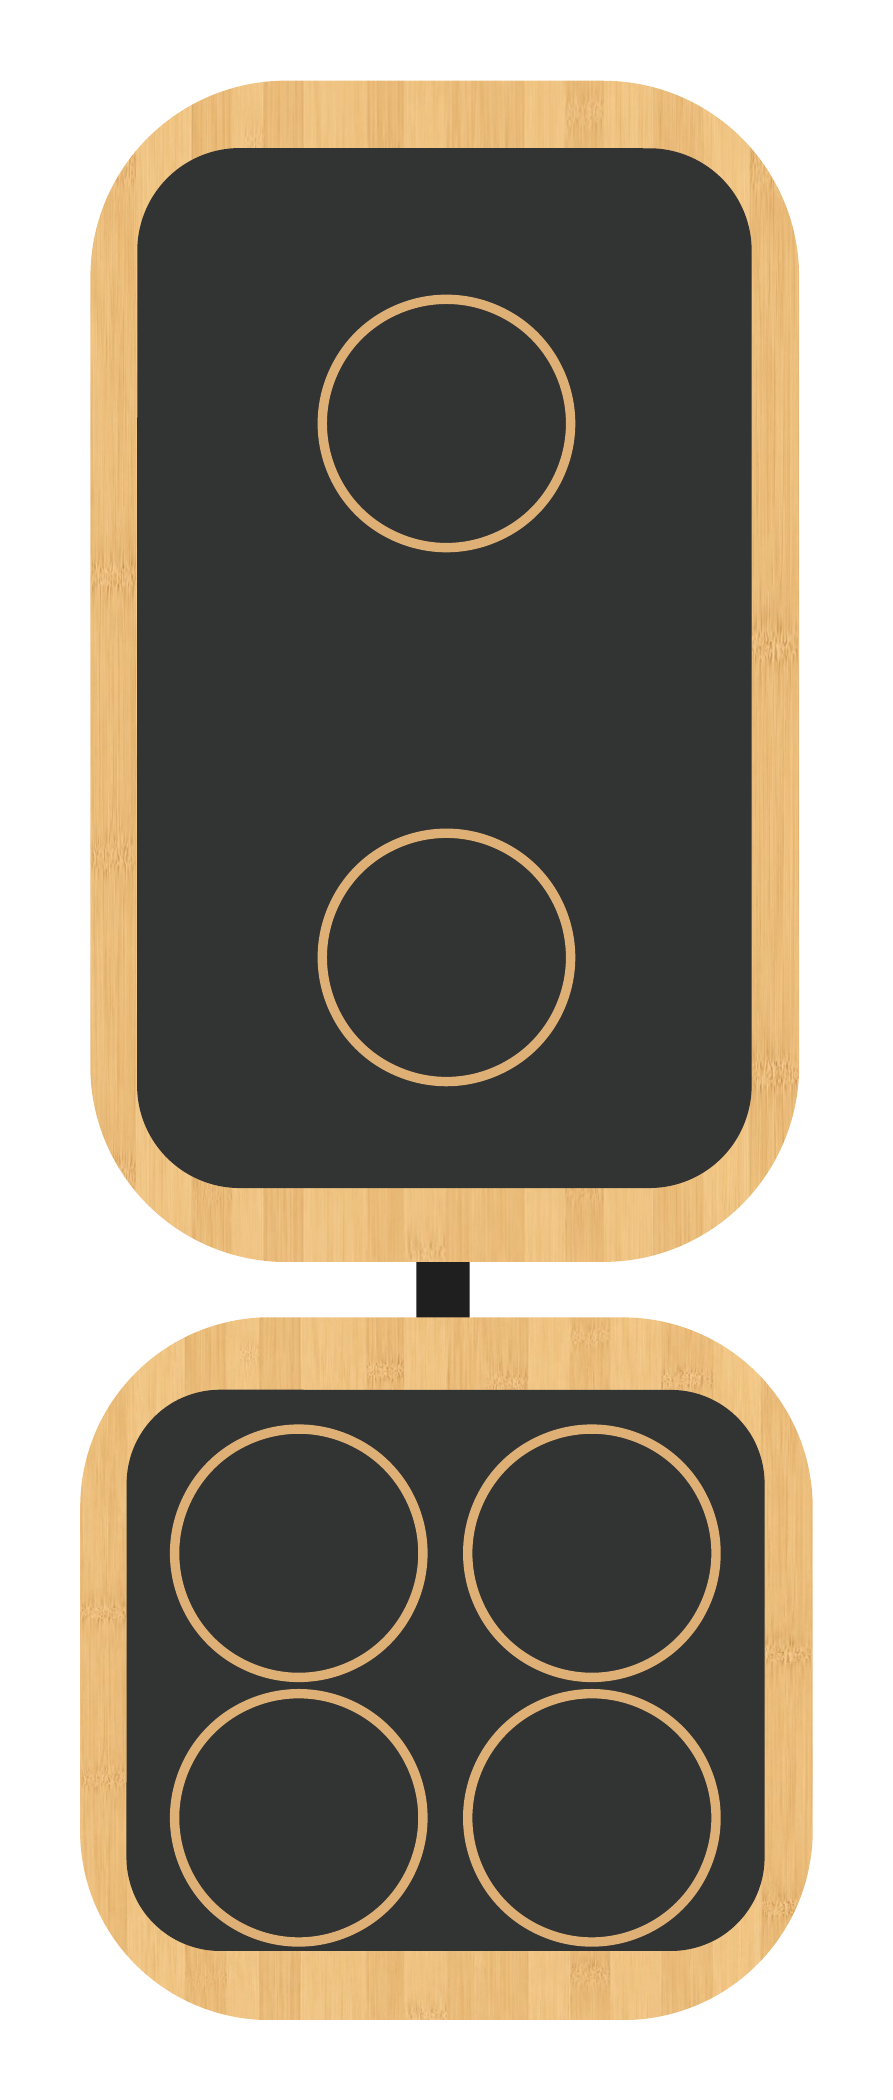
Once you can perform this exercise with good control, you can increase the challenge by using the half-round balance balls.
Use the setup shown below for this exercise. Change only one element at a time. If you lose control, return to the Basic Board Setup.
Glute Bridge — March
Only try this after the basic exercise meets all four checks: Control, Comfort, Completion and Next-Day Check.
What This Exercise Does
Increase unilateral control while maintaining the bridge position.
Why it matters: Adds pelvic and lower-body stability by briefly reducing support from the non-board side.
Keep the pelvis quiet as the foot lifts. If the hips rotate, make the march smaller or return to the two-leg version.
Set Up Your Board
Same standard setup as the two-leg Glute Bridge. Choose the Right Foot Setup or Left Foot Setup below for the foot you are training.
Starting Position
Begin in the two-leg bridge position with the working foot on the Ankle Balance Board.
How to Do It
- Lift the hips into a controlled bridge.
- Press more firmly through the board-side foot.
- Lift the opposite foot a few inches from the floor.
- Hold briefly, then lower the foot and return the hips to the floor.
What You May Feel
Glute, hip, hamstring and foot/ankle stabilizers on the working side.
Key Form Cues
- Keep the pelvis level.
- Lift the free foot only as high as you can control.
- Board-side foot stays stable.
Common Mistakes
- Pelvis dropping or rotating.
- Pushing through the neck/shoulders.
- Rushing the march.
5–12 reps. Perform 3 sets. Increase control and volume before moving on.
Demonstration Video
Your board is ready and you have read the instructions. Watch the demonstration once, then perform the exercise yourself.
Glute Bridge — Single-Leg
Only try this after the basic exercise meets all four checks: Control, Comfort, Completion and Next-Day Check.
What This Exercise Does
Progress the bridge to full single-leg loading on the working side.
Why it matters: Builds unilateral glute, hamstring and foot/ankle stability.
Control comes first. If you cannot keep the pelvis level, return to the bridge march and build from there.
Set Up Your Board
Same standard board setup. The working foot remains on the Ankle Balance Board. Choose the Right Foot Setup or Left Foot Setup below for the foot you are training.
Starting Position
Lie on your back, lift the other foot from the floor and keep the working knee bent.
How to Do It
- Press through the working foot to lift the hips.
- Lift until the hips align with the thighs without losing pelvic control.
- Hold briefly.
- Lower slowly while keeping the free leg elevated.
What You May Feel
Strong work in the working glute/hamstring and stabilizers around the foot and ankle.
Key Form Cues
- Pelvis stays level.
- Move slowly.
- Keep board pressure controlled throughout.
Common Mistakes
- Twisting the pelvis.
- Using momentum.
- Allowing the knee to collapse inward.
5–12 reps. Perform 3 sets.
Demonstration Video
Your board is ready and you have read the instructions. Watch the demonstration once, then perform the exercise yourself.